See here how to do it without getting into a big mess and get some tips about yarn usage, hook size etc.

What you do with the right hand (dominant hand) and what you do with your hook, is also important.

Here are a couple of tips for you, so you are prepared next time you find a fluffy or furry yarn.
Christmas gets closer every day. All full of love and (Xmas) hearts. Here is a free heart pattern for you.
I'll guide you at the beginning of the diagram as well as at the parts, when new things happen. So even if you are a newbie, you should be able to finalize this.

Then, how to hold the hook? And how to avoid pain, if you want to crochet a lot?

The solution to this is really simple and easy to remember. And it works for all higher stitches - not just double crochet.

Some DIY pages have omitted a few details about splitting yarn. I've added these points to this guide.

We tend to forget that this stitch is very versatile and can be used for much more. It can give your work a dense - though soft and drapable - fabric, you can use it for decoration, and it can be used for a stretchy ribbing.
Have you figured out by now, what stitch I'm referring to?

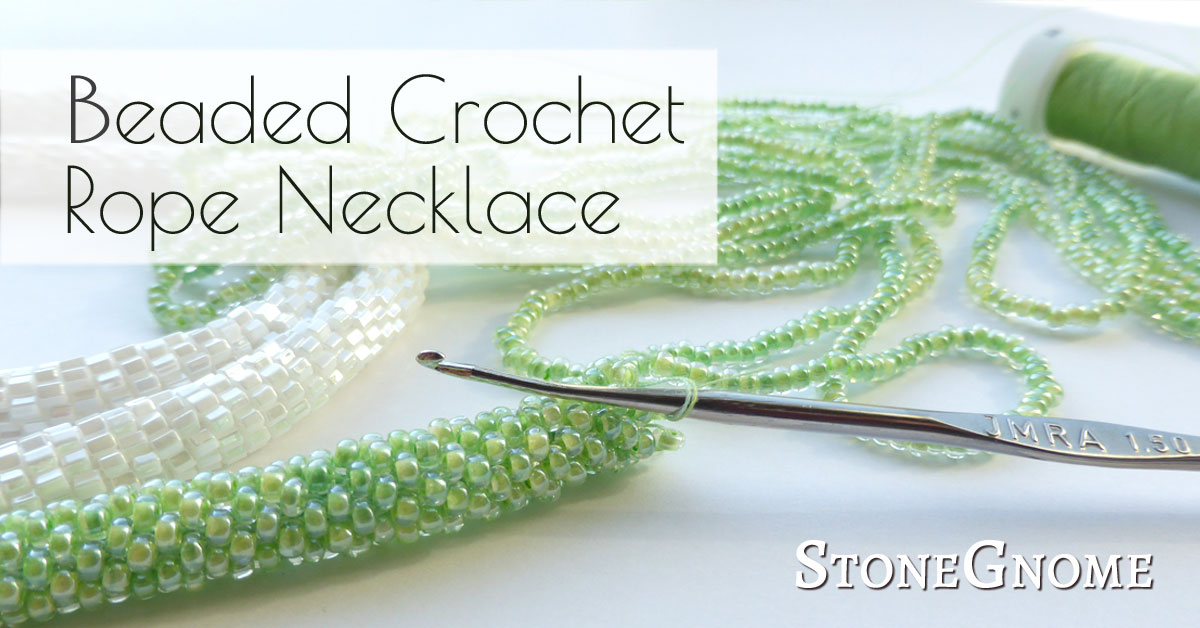
They are perfect for Summer crafts and you can find an incredible amount of fantastic patterns for the beaded crochet ropes.
Learn How To
The first rounds are confusing and they might make you incredibly frustrated. I sometimes start over again and again - especially if I crochet with one color beads. Once you got the first rows, the rest of the beaded crochet necklace is easy to make.It can be difficult to find good tutorials, but I've hand-picked some, that can help you get started. The tutorials I've found are clever and use different colored beads.
Also notice that some tutorials start with a row of regular chains (without using beads yet) and make a circle with this, while other tutorials will get right on to using the beads.
You will need:
- beads (see later about beads)
- thin crochet hook, maybe around 2mm (US 0, UK14) The smaller your beads, the tinier the hook.
- a strong thread in a color that matches the beads (or a contrasting color for the first sample)
- needle to put the beads on the thread
- Optional: end caps and a lock - or be creative.

Animation Tutorial
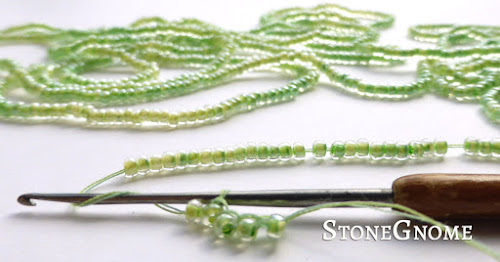
If you are impatient, I found this simple page on Fiosarterapia that explains the different steps with only 5 animations. The first animation shows how to make the first round of stitches including beads. The other animations show the 4 steps you need for doing sc with each bead:- Insert hook
- push the already attached bead to the side
- make the next bead ready on the loose end
(push the loose end over the already attached bead) - finalize your sc
Photo/Image Tutorials
Fusion Beads has good and lots of images. Just don't get paralyzed when you see the number of images. Step 1-10 is enough for a good start. Step 16 shows how to join the ends of the first row to make a circle, and then you might only need to look at steps 17-19 to know how to do all the rest of the beads.Making Beaded Jewelry got great photos and text. Here is how to crochet over beads (for the first round), and for the rest of the beaded rope, follow the How to Crochet Beaded Ropes tutorial.
Video Tutorials
A great and very straightforward video tutorial is made by Beadaholic. The actual tutorial starts around 3:15.Ann Benson made a detailed youtube video tutorial that starts with info about what you need and a couple of great tips too. Around 3:12 the 'real' tutorial starts by showing how to make the first row of stitches. She uses nice animations as well as short videos to show the details.
Finalize the Necklace
Only some tutorials show how to end the rope. You can do this, just like you would end another crocheted project. Make a slip stitch, cut the thread and pull it through. You decide whether to attach end caps or not. There are many options. Be creative.About Beads
The more perfect beads you have, the easier to get a perfect outcome. The beads have to be 'perfect' in the way that they should be very similar in size and shape. Because when you are new at this you might crochet pretty tight and then uneven beads will give you a messy looking rope. When you get more advanced, you can mix bead sizes in a controlled way to make more complex ropes.Useful Links
When you are familiar with the rope technique, I found some good links on biser.info. It is a Russian page, but with lots of great photos. It will bring you joy and hours of work:- A collection of patterns and images of beaded crochet ropes.
- Photo tutorial on how to split a crochet rope into two.
- Photo tutorial on how to make a twisted spiral shape on the crochet rope (use Google Translate to get the whole meaning)
Updated as of May 2020

So hubby, please bear with me!

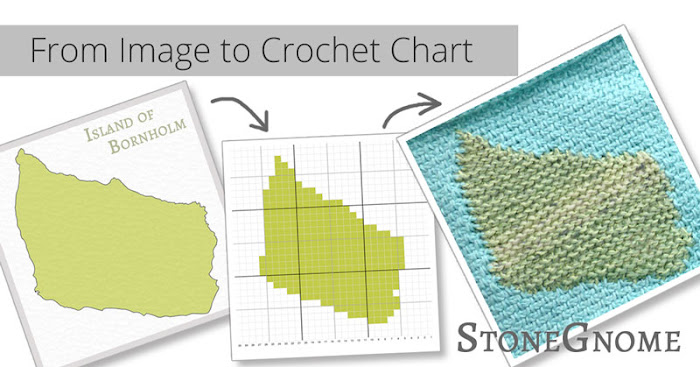
What you need is:
- an image
- a crocheted stitch sample
- a computer
- time
The back of the Tunisian Top Stitch has similarities to a chain mail - at least when using a large hook. I made a chain mail costume for our boy. I'll show you how to make one too.
The project is fast and it doesn't matter, if you make a little mistake here and there. So feel free to try even if you just learned to do the Tunisian Top Stitch.
This is a detailed guide, not a make-it-in-5-different-sizes pattern. Grab your yarn, measure tape, a shirt of approximately the right size and your creativity.
The project is fast and it doesn't matter, if you make a little mistake here and there. So feel free to try even if you just learned to do the Tunisian Top Stitch.

This is my first time felting anything in the washing machine. - At least on purpose.
So, I'm clearly not an expert, BUT! - If you are like me, you would think, this was time consuming and difficult.
It was a piece of cake and amusing too!
I am definitely going to try this again soon.
This is how it works...
So, I'm clearly not an expert, BUT! - If you are like me, you would think, this was time consuming and difficult.
It was a piece of cake and amusing too!
I am definitely going to try this again soon.
This is how it works...
A very easy way to make a hat is making it sideways. You simply crochet a long rectangle and sew the ends and the top. And there you have a hat.
I'll show you how to do that and how to figure out the right sizes.
You have already made the base of your hat. Now you want a ribbed brim.
And when your hat is done, you want the hat to look smooth and soft without those edgy corners from your increases. Or maybe you want a little decoration?
This post gives you:
And when your hat is done, you want the hat to look smooth and soft without those edgy corners from your increases. Or maybe you want a little decoration?
This post gives you:
- Nice tips for doing a ribbed brim
- Guidelines for blocking
- Tips for making ears
Everyone is asking for patterns for easy and warm hats.
Even if you are a beginner, you might not need a pattern. At least not if you just want something simple. Here is a guide you can follow and make great rounded hats from.
Making a perfect flat circle is not always easy. There are a lot of things to consider. Most blogs only cover a small part of this exercise. Therefor I've collected some good guides and tutorials for you.
With this in hand, you should know the most important things, there is to know about a (perfect) flat circle.
Use the Perfect Stitch Marker
Once in a while you work on something, were you need to count and count and count. Most of the time you are counting rows and sometimes you need to make sure, you do the increase/decrease or color change in the right place.FYI: You don't need to count the same rows again and again.
Do you sometimes find that some of your clothes could use something extra?
I have this lovely way-too-big sweater. It is great for a rainy day, when you just want to stay indoor doing crochet. Only thing is; the neck is too open. So my chest gets cold.
Recently a clever girl on Facebook told me, I could use Tunisian Top Stitch as a rib. So I wanted to try that on my sweater.