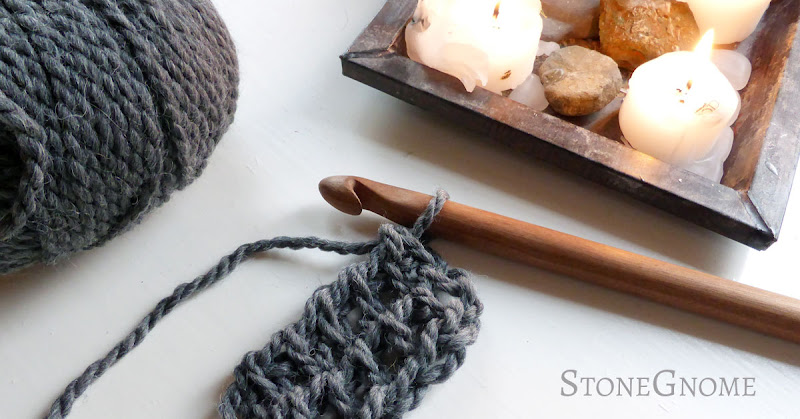
Hubby has been working on something for me these holidays with a lathe he set up. So yesterday, I had the pleasure to test a big handmade hook of mahogany. What a joy!
Back-Linked Stitches
When doing 'ordinary' linked stitches, you get a visible link at the front of the stitch. Sometimes you don't want that. In that case, I've work out a method, where you use a bump on the back of a stitch to link into.
Back linked stitches. Almost invisible at the front.
See the back side below.
Notice. You can link double crochet (dc) and taller stitches (US terms), though you can also link a dc to a half double crochet stitch (hdc), if the hdc is made first.
Tutorial
Like linked stitches, back-linked stitches are also made by replacing the normal yarn-over (YO) with a link. In back-linked stitches you insert the hook into a bump on the back of the last stitch. Look at the back of a chain stitch. There is a bump there, we will use.Taller stitches usually start with 2 or more YO. Each of these YOs should be replaced with a insert-into-the-back-bump-yo-pull-up-loop.
Foundation. Make a row of 8 chains. Turn with 2 chains. Be careful NOT to tighten the last chain and the loop on the hook too much or you cannot insert the hook in the bump.
Note. The 2nd chain from the hook will be the 'footer' of this 2-chain turn stitch (for regular linked stitches the 3rd chain is the 'footer'.)
- Make the first back-linked stitch by turning your work, so you can see the back of your last chain. Find the first back bump close to the hook and insert the hook here. YO and pull up a loop.
- Skip one chain and insert the hook in the next stitch/chain as you would do with a normal dc. YO and pull up a loop.
- Finalize the dc as usual. *YO and pull through two loops.* Repeat this.
- The back-linked stitch is done. If you count the 2-chain-stitch, there are now 2 stitches in the row.
All the following stitches look alike. Turn your work a little, so you can see and find the back bump closest to the hook.
- Insert the hook in the back bump. YO and pull up a loop.
- Insert the hook it the top of the previous row or chain (as usual). YO and pull up a loop.
- Finalize your stitch as usual. *YO, pull through two loops* until there is only one loop left on the hook.
Turning
Turn with 2 chains. Do not tighten the last chain too much.The first linked stitch can be difficult, if you tighten your chains too much.- Find the back bump of your last chain and insert the hook here. YO and pull up a loop.
- Insert your hook into the next stitch of the previous row (as usual). YO and pull up a loop.
Finalize the stitch as usual with *YO and pull through two loops* twice. Repeat 5)-7) all across for a full row of linked stitches.
Two rows of back-linked stitches.
Video
I know some of you like a video. So I hope this is useful for you. Remember to click like, if you like it and I would also love if you subscribe to more on youtube.The Geeky Note
When I had worked with linked stitches for a short while, something hit me. If you have tried linked stitches with taller stitches and if you know Tunisian crochet by heart, maybe you have seen it too. To me, linked stitches are similar to short rows of Tunisian crochet stitches.Ordinary linked stitches are Tunisian simple stitches and the back-linked version is similar to the Tunisian top stitch - which btw, is one of my favorite Tunisian stitches due to its drape and how it can be used for a flexible rib.
What Name to Use?
So, maybe we could just call linked stitches for short rows of Tunisian simple stitch and the back-linked stitches for short rows of Tunisian top stitch?Well... my problem is that I need to add a disclaimer here. I believe some has argued that linked stitches are NOT Tunisian stitches. I don't see any difference, but now I'm not sure, if we should call them one thing or another - or if the purpose and way of thinking of them can justify two different names.
Funny world, right?
It is very useful, if you want to use a tall stitch for an amigurumi figure or just want another stitch in your stitch collection.
Christmas gets closer every day. All full of love and (Xmas) hearts. Here is a free heart pattern for you.
I'll guide you at the beginning of the diagram as well as at the parts, when new things happen. So even if you are a newbie, you should be able to finalize this.