Some Tunisian patterns are easy to do, when you work in rounds, while doing rows are considered impossible, or something that requires sewing in a lot of ends.
It's just not at all impossible. Nor do you need to cut the yarn and sew in ends all the time.
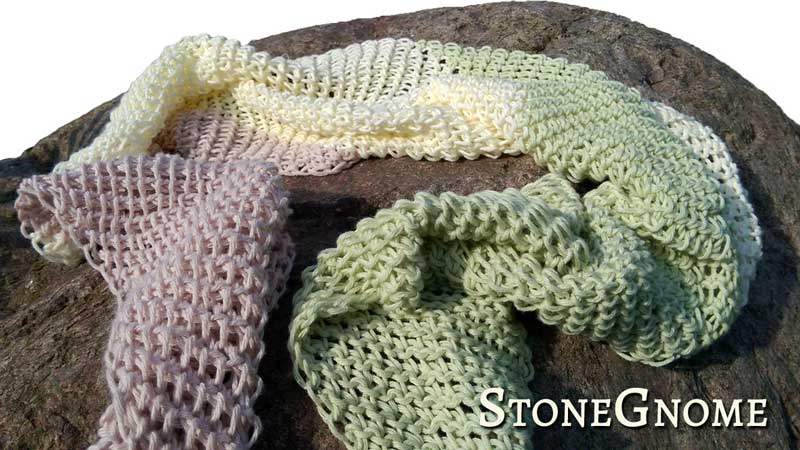
Here is a nice and easy-to-do Tunisian stitch pattern for you. It is one of my favorites and I rarely see other using it, which is a shame. Try it, you might love it too.
I also have a little workaround for you, that helps you close gaps in the left side of your work
I used Color Stacking which is a member of the Planned Pooling family. A great way to have fun with colors. The tutorial here helps you with your first color stacking project.
Most of my week has been about the Textile Exhibition at Gudhjem Museum. Local crafters are showing their work. It is a show of weaving, felting, patchwork, knitting - and - crochet!
Did you ever think about how many different crocheted ribbings there exist? I think most of us just do whatever a pattern tells us - or you find a page telling you 'how to crochet a ribbing'. As in one ribbing.
Being conscious about the different kinds of ribbing is an advantage, if you want to be able to change an existing pattern or make your own design.
How do you join yarn for a color change - or if you need to add another yarn ball?
I don't like knots or sewing in ends. If I do amigurumi, I prefer to crochet over the yarn ends whenever possible. In almost every other case I prefer the Russian Join. To my experience, It can be used with most yarns and it blends in very well. I also use the Russian Join, if I suddenly find a knot in the middle of my yarn ball.
Latvian Twist - or Twisted Stitch Edge - is a knitting technique for creating a lovely border. I have seen knitters doing it, but never a crocheter. So I tried it, and you canuse it, when you crochet.
It takes advantage of the natural curling of a crocheted work and it will also help you prevent the rolling of the rest of your work.
This might be the tiniest advice ever, but wouldn't you like to get rid of the knot you get, when you start a new project?
You probably start with a slip knot and pull it tight. Then you have a little hard knot in the corner of your work. It doesn't add anything good to your work and can be difficult to hide - even if making a border - as it is always trying to run away and stick out.
A FREE pattern is out. It is a Mini Neck warmer made of the Tunisian Top Stitch Rib.
It fits a variety of sizes and will keep your upper chest warm under your jacket.
Go have a look. You can find the free pattern at LoveCrafts and on Ravelry.
YEAH! A new pattern has been released! It is a sideways hat. Made completely from the Top Stitch Rib pattern. I've nursed the top, so it is ribbed almost all the way to the top center.
A tester said: "It's is a very lightweight feeling on my head when compared to a hat made in regular crochet stitches. And much stretchier. Just all-around more comfortable."
The back of the Tunisian Top Stitch has similarities to a chain mail - at least when using a large hook. I made a chain mail costume for our boy. I'll show you how to make one too.
The project is fast and it doesn't matter, if you make a little mistake here and there. So feel free to try even if you just learned to do the Tunisian Top Stitch.
This is a detailed guide, not a make-it-in-5-different-sizes pattern. Grab your yarn, measure tape, a shirt of approximately the right size and your creativity.
You have already made the base of your hat. Now you want a ribbed brim.
And when your hat is done, you want the hat to look smooth and soft without those edgy corners from your increases. Or maybe you want a little decoration?
I've been playing around with the Top Stich and found a very, very neat way to make an awesome ribbing. I haven't seen it anywhere else. So I dare to call this NEW!